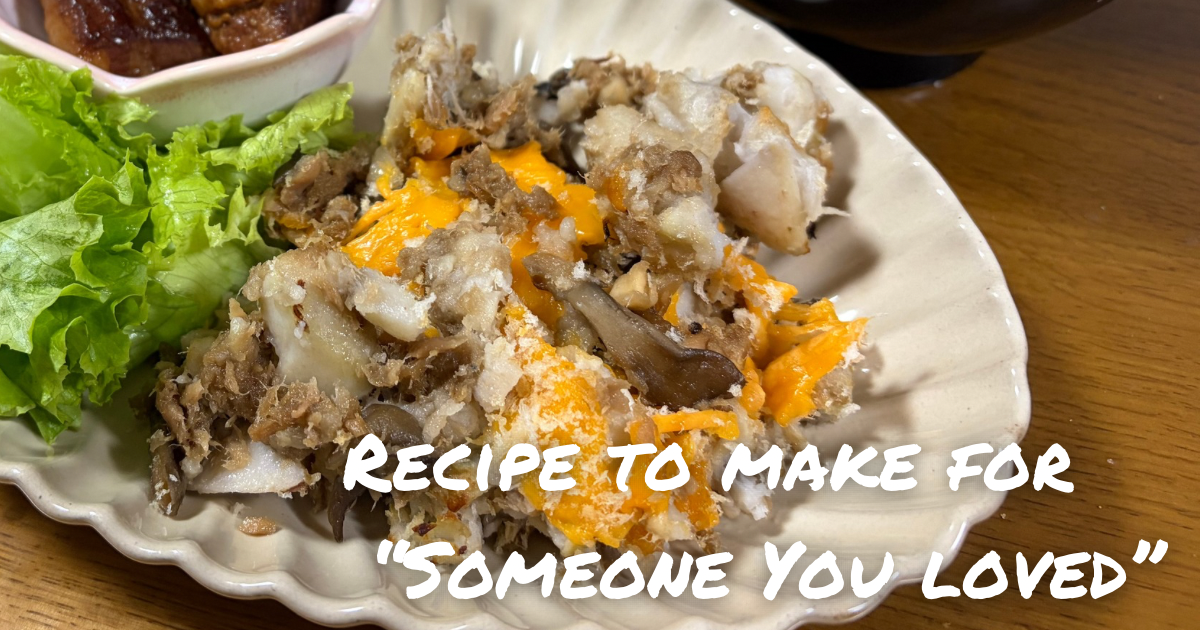
クラストとは、「香ばしい焼き衣」という意味。コロッケに成形せずにパイ皿に入れてオーブンで焼いてみた。
里芋はねっとり粘り気があって炭水化物やエネルギーが低いけれど、カリウムや食物繊維が多い。里芋って煮物のイメージが強いなぁ。フィリングでアレンジができそうなので、今後も更新していこうと思う。
まずはツナと舞茸の甘辛味のレシピをどうぞ。
里芋のクラスト、ツナと舞茸の甘辛味
18cmのパイ皿 一皿分
【材料】
里芋 5-6個
(フィリング)
ツナ缶 1缶
舞茸 (ツナ缶に入るくらい)
砂糖 大さじ1
酒 大さじ1
しょうゆ 大さじ1
みりん 大さじ1
パン粉 お好みで
油 大さじ1
里芋
チーズ 適量 (粉チーズ、他のチーズでもOK)
【作り方】
里芋は皮を剥き、小さめの角切りにして水にさらして、耐熱容器に入れて電子レンジ600W、3分加熱する。(水にさらす時間は長くても10分以内)
加熱している間に、フィリングを作る
ツナ缶の水分を軽く切り、油を引いたフライパンに入れる(跳ねるので中火くらい) 続けて舞茸も加える。火が通ったら、調味料を加えて調味料液がなくなるまで炒める。
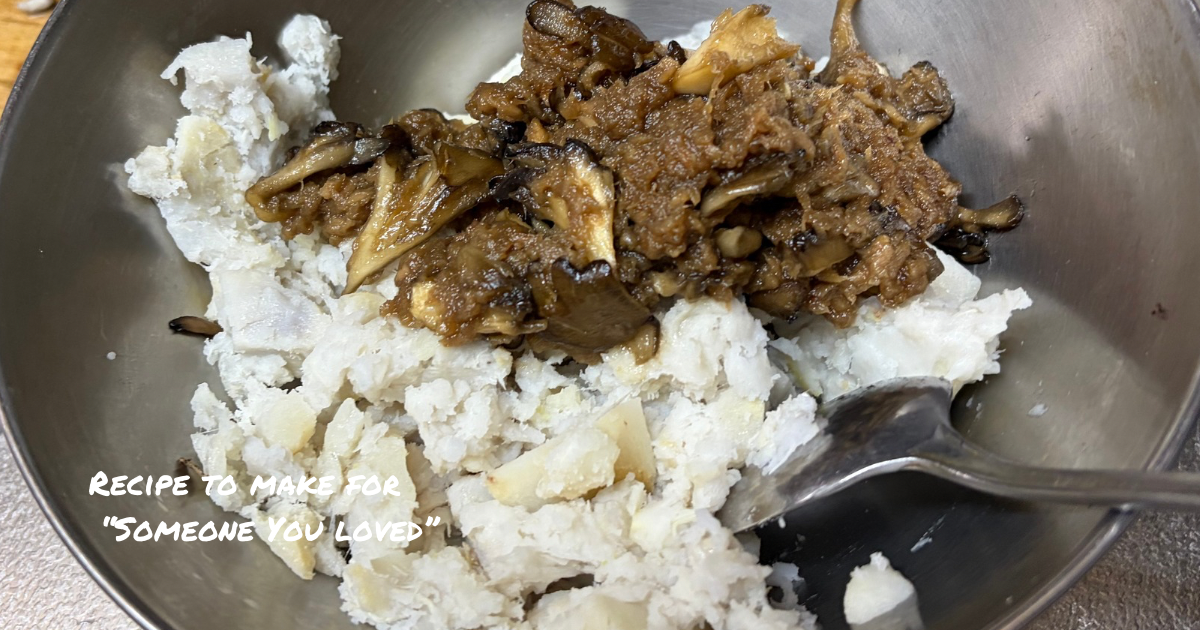
里芋を電子レンジから出したら熱いうちに潰す。でも一部はそのまま残す。フィリングを里芋と合わせ軽く混ぜてパイ皿に入れる。
オーブンの予熱200℃にセット
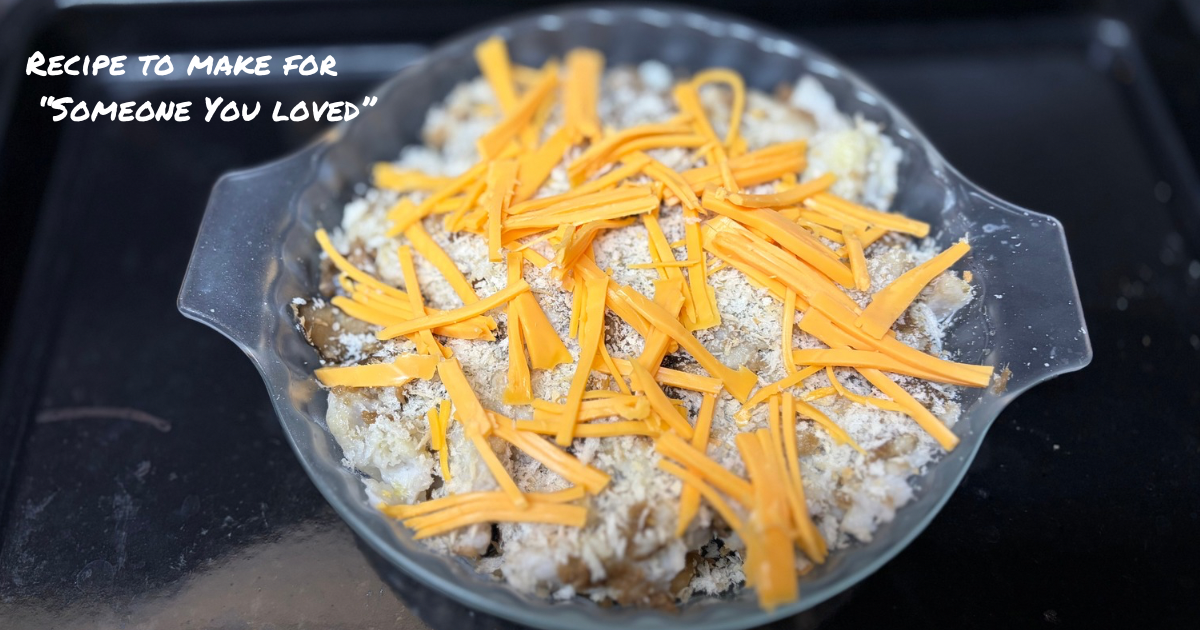
空のボウルにパン粉を入れてオリーブオイルを大さじ1程度上から回しかけてスプーンで全体をフワッと混ぜる。うっすらしっとりしていればOK
(粉チーズを使う場合はここで一緒に混ぜる)
これを里芋の上、全体に乗せる。
ワタシはスライスチーズを使ったので細く切って上に乗せた。
オーブンで15分焼けば完成。
Translation
What’s a “crust”? It basically means a crispy, golden topping.
Instead of turning everything into croquettes, I tried baking the mixture in a pie dish—and it turned out great!
Taro has this wonderfully sticky, creamy texture. It’s low in carbs and calories, but high in potassium and fiber. Most people in Japan think of taro as something you simmer, but I realized it can be used in so many other ways—so I’m planning to keep experimenting with different fillings.
For now, here’s my first recipe: Taro Crust with Sweet & Savory Tuna and Maitake Mushrooms.
Taro Crust with Sweet & Savory Tuna + Maitake
Serves 1 (18 cm pie dish)
Ingredients
Taro: 5–6 pieces
Filling
- 1 can tuna
- Maitake mushrooms (enough to fill the tuna can)
- 1 tbsp sugar
- 1 tbsp sake
- 1 tbsp soy sauce
- 1 tbsp mirin
- Panko breadcrumbs (as much as you like)
- 1 tbsp oil
- Cheese of your choice (grated Parmesan or any melting cheese)
Instructions
- Peel the taro, cut into small cubes, soak in water (no more than 10 minutes).
Microwave at 600W for 3 minutes. - While the taro is heating, make the filling:
Drain the tuna lightly and sauté it in a lightly oiled pan (medium heat—it tends to splatter).
Add the maitake.
Once everything is cooked through, add all the seasonings and cook until the liquid evaporates. - Take the taro out of the microwave and mash it while it’s still hot, leaving some chunks for texture.
- Combine the mashed taro with the filling, mix gently, and spread into the pie dish.
- Preheat the oven to 200°C (392°F).
- In an empty bowl, add panko and drizzle about 1 tbsp of olive oil over the top.
Mix lightly until the crumbs are just slightly moist.
(If using Parmesan, mix it in here.) - Sprinkle the panko mixture evenly over the taro.
I used sliced cheese this time, so I just cut it into thin strips and laid them on top. - Bake for 15 minutes, and you’re done!
So… what exactly is taro?
Taro (called satoimo in Japanese) is a small starchy root vegetable with a creamy, slightly sticky texture.
It’s mild in flavor, super versatile, and often used in simmered dishes in Japan—but it works amazingly well baked or mashed too.